Compact Urban Chicken Run Build
Uitgelicht onder: Recepten voor evenwichtige, gezonde maaltijden
I never knew how satisfying it would be to build my own chicken run until I tackled this project! Designing a compact urban chicken run not only maximized my small backyard space, but it also allowed me to provide my chickens with a safe and secure environment. The best part? I learned a few clever tricks along the way that made the construction process smoother, like using recycled materials for part of the frame. If you're looking to integrate chickens into your urban lifestyle, this build is a rewarding endeavor.
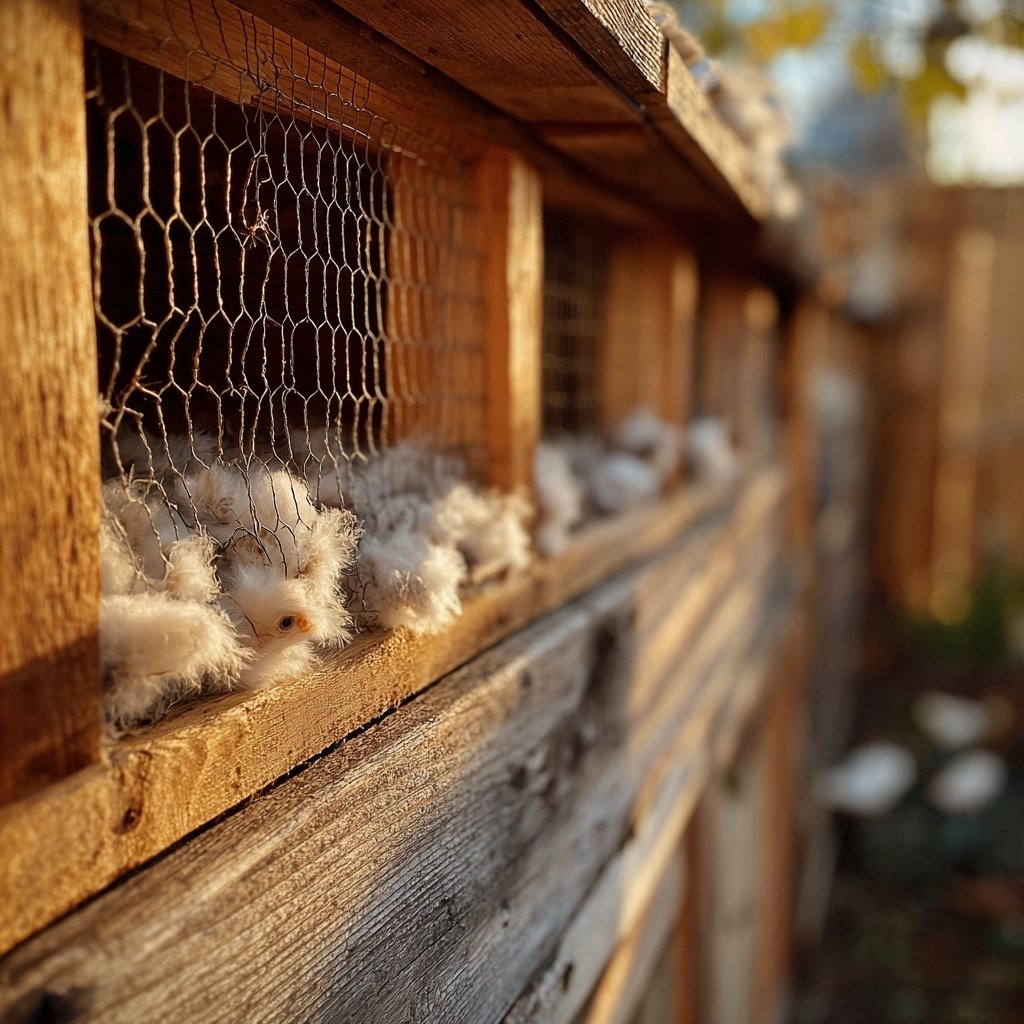
When I first decided to keep chickens in my urban backyard, I realized I needed a well-structured run to keep them safe. After researching various designs, I opted for a compact build that wouldn’t take up too much space yet offered plenty of room for my hens to roam. I utilized treated wood and sturdy wire mesh, which proved to be effective in keeping predators at bay.
During the construction, I also discovered the importance of a solid foundation to prevent any issues with uneven ground. This meant digging down a few inches and leveling the area before starting. Ensuring the design was functional and aesthetically pleasing was a bonus that made the entire project even more enjoyable!
Why You Will Love This Project
- Creates a safe and enriching environment for your chickens
- Maximizes limited urban space while enhancing your backyard
- Offers a hands-on project that gives you a sense of accomplishment
Planning Your Chicken Run
Planning is crucial for a successful urban chicken run. Start by measuring your available backyard area. I recommend sketching a couple of designs, focusing on the layout—consider both square footage and vertical space. Chickens love to perch and explore, so integrating a multi-level design can enrich their environment and make better use of your limited space.
Additionally, think about the positioning of your chicken run in relation to sunlight and shade. Chickens need sunlight for vitamin D, but they also need areas to escape the heat. Align your design so that their shelter provides them with some shade while maximizing sunlight exposure during the cooler parts of the day.
Choosing Materials
When selecting wood for your chicken run frame, it's important to choose treated wood that is resistant to weather and pests. I find that cedar works well due to its natural resistance to rot, but if you're on a budget, pressure-treated pine is a great alternative. Just be sure to avoid using chemically treated wood that could leach harmful toxins.
For the wire mesh, opt for a 1-inch by 1-inch or smaller gauge. This prevents not only chickens from escaping but also offers protection against raccoons and foxes. If you have a significant predator problem in your area, consider reinforcing the bottom of your run with some mesh buried about a foot underground to deter digging.
Enhancing Security
Ensuring the security of your chicken run can’t be understated. After attaching the wire mesh, it’s wise to do a thorough check for any potential gaps or weaknesses. I also recommend fortifying corners and entry points with extra mesh or a metal strap for added protection. It's better to take a little extra time during construction than to face the heartbreak of losing chickens later.
You may also consider adding a roof or covering to protect your chickens from aerial predators. Installing a sloped roof can help with rain runoff, preventing holes or wear over time. If you're in a particularly windy area, ensure that your roof is securely fastened to withstand harsh weather conditions.
Ingrediënten
Materials Needed
- Treated wood for framing
- Wire mesh or fencing
- Hinges and latches for doors
- Nails and screws
- Tools (saw, hammer, drill, etc.)
- Concrete for base support (optional)
Bereidingswijze
Follow these steps to successfully build your compact chicken run!
Plan Your Design
Sketch out your chicken run plan on paper, considering the size and shape that best fits your backyard space. Incorporate elements such as doors for easy access and ventilation for your chickens.
Gather Materials
Collect all your materials and tools before starting the construction to ensure a smooth workflow. Check your local building codes to ensure compliance.
Build the Frame
Construct the frame of your chicken run using treated wood. Secure the corners with brackets for added stability.
Attach Wire Mesh
Cover the frame with wire mesh, making sure it's securely attached. Ensure there are no gaps where predators could enter.
Add Access Doors
Install hinged doors for easy access to your chickens. Make sure to use sturdy latches to keep the doors secure.
Finish and Secure
Complete any final touches and secure the base, if necessary, with concrete. Check for any loose ends and make sure everything is safe for your chickens.
Your compact urban chicken run is now complete! Enjoy watching your chickens thrive in their new environment.
Professionele Tips
- Consider adding a roof to provide shade and protect against predators. Additionally, place perches and nesting boxes inside to enhance your chickens' living conditions.
Getting Started with Construction
Before diving into the construction, gather all your materials together, as this will save you significant time and effort. Set aside a weekend or two for the project. A smaller run may take only a day to complete, while larger or more complex structures could require more days, especially during the planning phase. Having everything on hand, including tools like a saw, hammer, and drill, will streamline your build.
When you start building, always follow safety guidelines. Using protective gear, like safety glasses and gloves, will ensure you stay safe while handling sharp tools and materials. Plan your construction steps so that you’re assembling sections of the run on the ground before raising them into place—that helps in aligning and securing everything correctly.
Maintenance and Upkeep
After your chicken run is constructed, regular maintenance is key to ensuring it lasts and remains a safe habitat. Make it a habit to routinely inspect your run for any holes, wear, and tear, especially after heavy storms or seasonal changes. This not only ensures the safety of your chickens but also prolongs the lifespan of your materials.
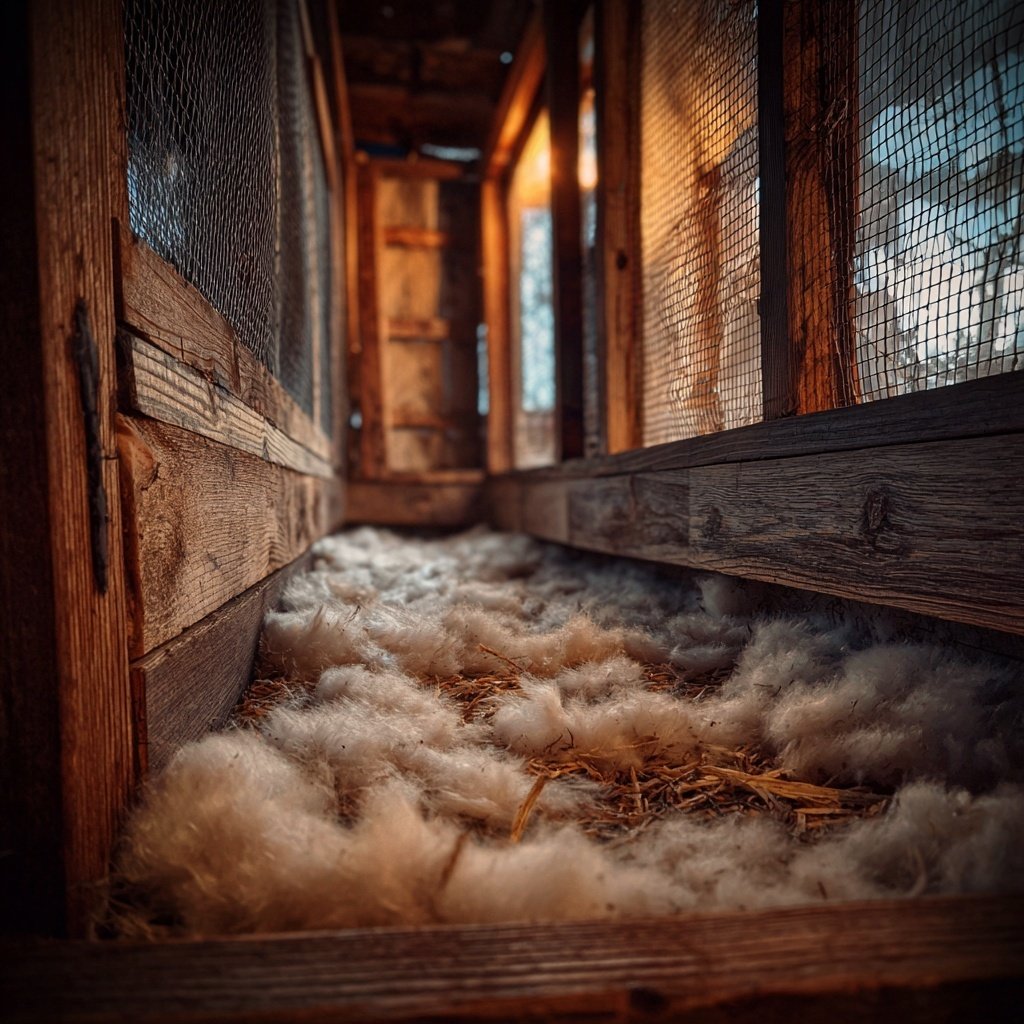
In addition, keep the interior of the chicken run clean. Regularly remove droppings and leftover feed, as these can attract pests and create unpleasant odors. You can use a simple shovel and rake for easy clean-up, and I suggest laying down straw or wood chips in the run, which are absorbent and make it easier to maintain.
Troubleshooting Common Issues
Even with thorough planning and construction, you may encounter issues with your chicken run. One common problem is the potential for escaping chickens. If you notice that they are consistently finding their way out, double-check your design for any gaps or weak spots, especially at corners and near doors. Adding an extra layer of mesh can offer additional security.
If you find that your chickens seem stressed or are pecking at one another, it may be a sign of overcrowding. Make sure your chicken run provides enough space per bird (at least 10 square feet per chicken is recommended). If necessary, consider expanding your run or limiting the number of chickens you keep to create a more comfortable living environment.
Vragen Over Recepten
→ How much space do my chickens need?
Generally, each chicken requires about 4 square feet of space inside the run for comfort and productivity.
→ What materials are safe for my chickens?
Using untreated wood and non-toxic paints is best for the health of your chickens. Treated wood is fine if you ensure the chickens can't chew it.
→ How do I protect my chickens from predators?
Make sure your wire mesh is securely attached and buried a few inches deep into the ground to prevent digging predators.
→ Can I keep the chicken run in my backyard year-round?
Yes, as long as it's well-constructed and provides shelter from the elements, your chicken run can be permanent.
Compact Urban Chicken Run Build
Gemaakt door: Harriet Bloom
Recepttype: Recepten voor evenwichtige, gezonde maaltijden
Vaardigheidsniveau: Intermediate
Eindportie: 1
Wat je Nodig Hebt
Materials Needed
- Treated wood for framing
- Wire mesh or fencing
- Hinges and latches for doors
- Nails and screws
- Tools (saw, hammer, drill, etc.)
- Concrete for base support (optional)
Stappen
Sketch out your chicken run plan on paper, considering the size and shape that best fits your backyard space. Incorporate elements such as doors for easy access and ventilation for your chickens.
Collect all your materials and tools before starting the construction to ensure a smooth workflow. Check your local building codes to ensure compliance.
Construct the frame of your chicken run using treated wood. Secure the corners with brackets for added stability.
Cover the frame with wire mesh, making sure it's securely attached. Ensure there are no gaps where predators could enter.
Install hinged doors for easy access to your chickens. Make sure to use sturdy latches to keep the doors secure.
Complete any final touches and secure the base, if necessary, with concrete. Check for any loose ends and make sure everything is safe for your chickens.
Extra Tips
- Consider adding a roof to provide shade and protect against predators. Additionally, place perches and nesting boxes inside to enhance your chickens' living conditions.
Voedingswaarde (Per Portie)
- Calories: 0 kcal
- Total Fat: 0g
- Saturated Fat: 0g
- Cholesterol: 0mg
- Sodium: 0mg
- Total Carbohydrates: 0g
- Dietary Fiber: 0g
- Sugars: 0g
- Protein: 0g